Ok, you have tried some Sourdough Bread, but you like to take care of your gut even more and you decide to start using Spelt Flour in your baking. Good choice, because Spelt Flour is proven to be easier to digest and this ancient grain also gives your bread a more robust flavour.
There are many Sourdough Bread recipes. This Spelt recipe is based on the Easy Sourdough Bread recipe with a few small adjustments. You can use a bread basket and dutch oven, if you have them, but your banneton can easily be replaced by a colander and instead of a Dutch oven I use an old pan that I inherited from my grandmother.
Once you master this Sourdough Bread recipe have a look at some of my other bread recipes, like the Basic Bread Recipe, Focaccia or Spelt Ciabatta.
Makes: 1 loaf | Preparation: 20 min plus a few times folding | Proving: 16-20 hours | Cooking: 30-40 minutes
Who connected us?! This recipe is based on the Sourdough Panne di Casa recipe from Sylvia Colloca.
Timing: Start your Sourdough making process a day ahead, get the Sourdough Starter out of the fridge in the morning and give it a good feed, so the starter is active when you use it. Roughly around midday you start preparing your dough for a beautiful fresh loaf for nexts days lunch.
- Step 1: 10 min, preparation and mixing.
- Step 2: 1 hour, autolayse the flour mixture
- Step 3: kneading, 15 min
- Step 4: resting, 20 min
- Step 5: stretch and fold, 5 min, 2 times
- Step 6: proving, 4 hours
- Step 7: kneading, 5 min
- Step 8: proving, 12 hours in the fridge
- Step 9: rising, 2-3 hours at room temperature
- Step 10: baking, 35 min
- Step 11: cooling, 1 hour
Ingredients
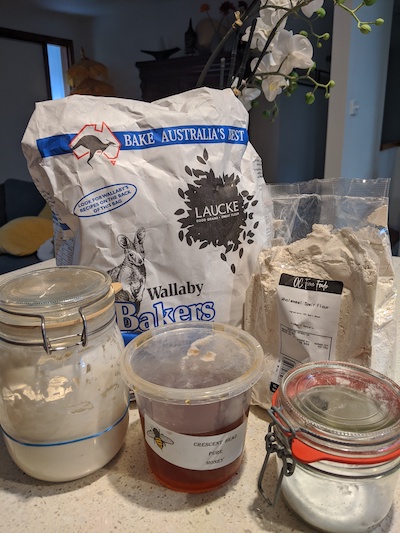
- 330 gr active sourdough starter (100% hydration)
- 210 gr (organic) wholemeal spelt flour
- 490 gr (organic) bakers flour
- 420 gr water
- 21 gr salt
- 1 tbsp honey
Method
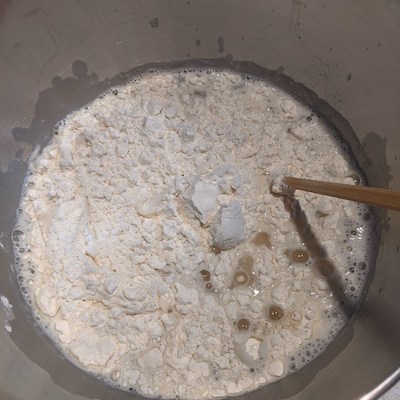
- Make sure you have taken your Sourdough Starter out of the fridge and feed it well to activate. Mix flour and water in a large bowl with a wooden spoon or chopstick.
2. Let it rest for about 1 hour. This process is called Autolayse and it allows for the enzymes in the flour to break down the starch and protein into sugar and gluten. This results in a better tasting and easier to digest bread.
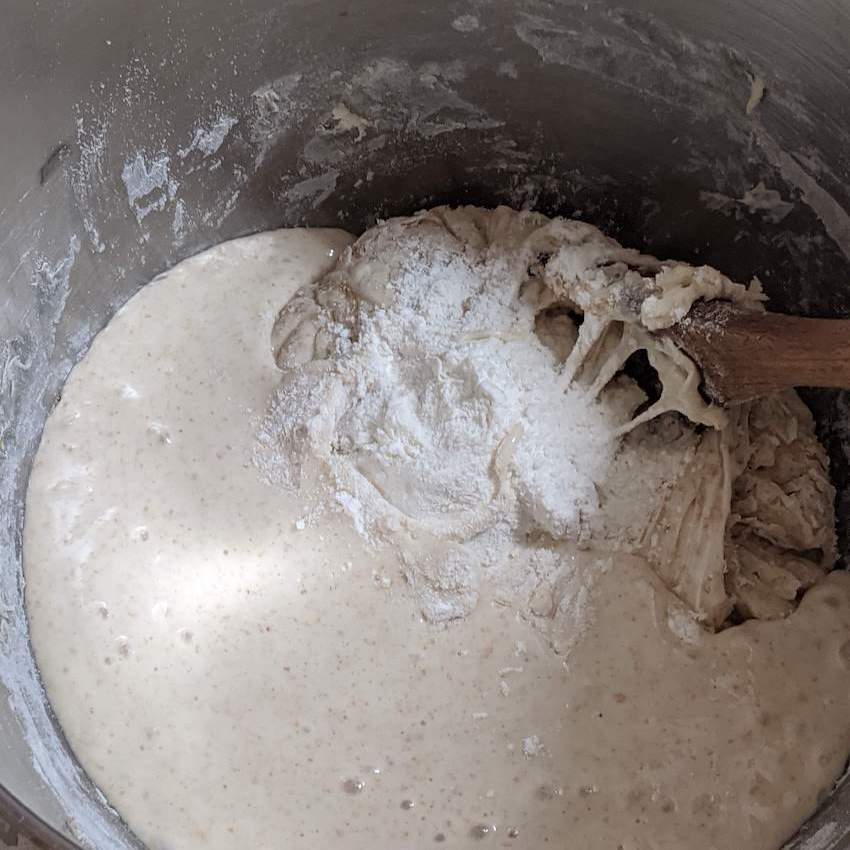
3. For the next 2 steps I use a stand mixer with a dough hook, but you can also do the mixing and kneading by hand if you enjoy the labour. Add your starter to the flour and water mixture and knead for about 5 minutes, then add salt and honey . Knead well for about 10 minutes, until your dough is smooth and silky.


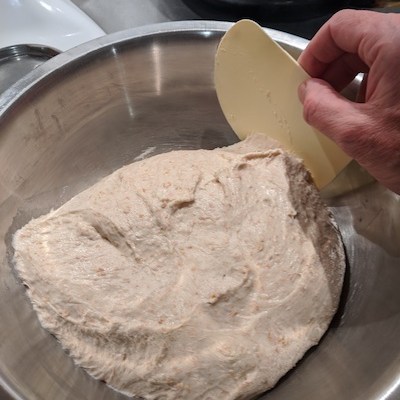
4. The dough is still quit wet and can’t be formed into a ball yet. Put the dough into a bowl, cover and let stand for a about 20 minutes. With a dough cutter, or your hands if you don’t mind to get sticky fingers, work the dough. While turning the bowl, fold the dough with the cutter by making a windscreen wiper like movement.
5. Leave the dough again for 20 minutes and repeat the process a few times until the dough becomes cohesive.
6. Cover the dough with cling wrap to keep the moist in and let it rest in a warm, draft free spot for 3-4 hours.
7. Knead the dough again for a few minutes. This time I do the kneading by hand. After kneading, you stretch the dough and fold it 3 times. The dough now has become springy. Shape the dough into a ball, cover with cligwrap and let it rest in the fridge overnight to develop flavour.

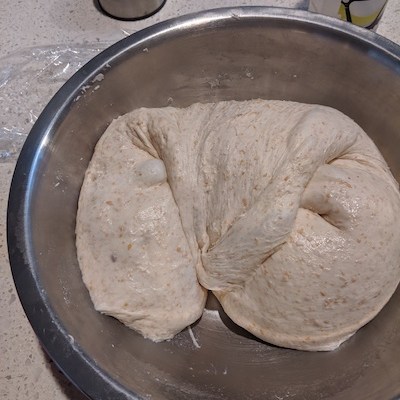

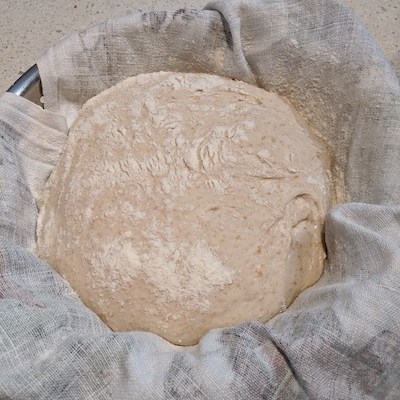
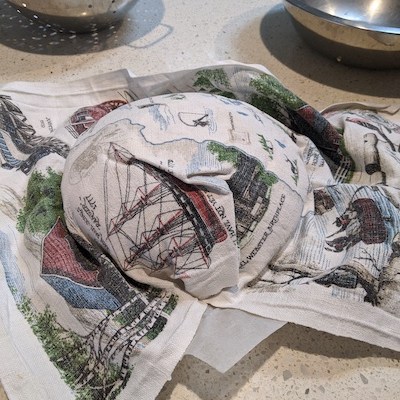
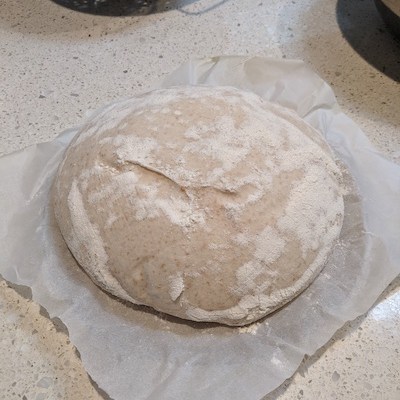
8. The next morning, take the dough out of the fridge and fold the dough a few times. You will notice that the dough has become more cohesive and you can see air bubbles form. For the next step you can use a banneton or you can use a colander that you lined with a linen tea towel and richly dusted with flour. Put the dough in the colander, cover and let it rest at room temperature for 2-3 hours, until grown in size by a least 1/3.
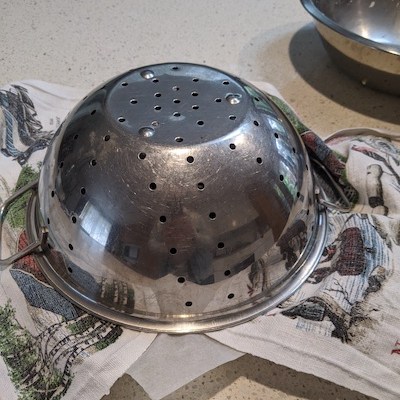
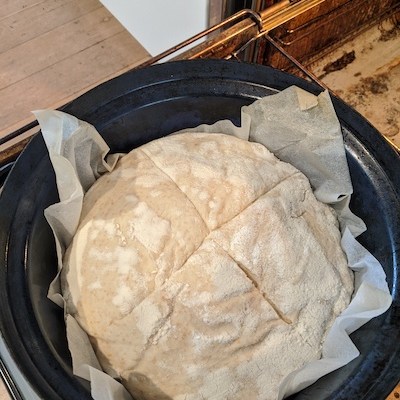
9. Heat the oven to 220 degrees Celsius. For the bread baking I prefer the Dutch oven method, but you can also put your dough on a baking tray or pizza stone. Put the pan (or Dutch oven) in the oven to heat up. When you are going to take the dough out of the colander, be gentle otherwise the dough might collapse. I usually put a plate with baking paper on top and then turn the dough upside down. You can then carefully remove the towel and score the dough. Lift the dough on the baking paper to the pan or pizza stone, and put the lit back on the pan.


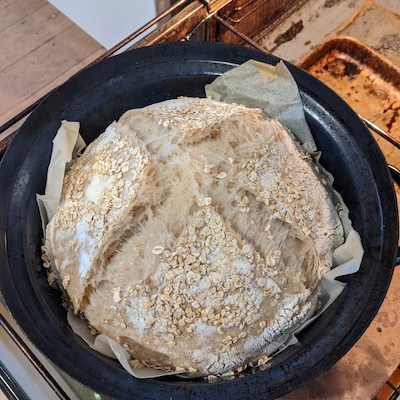
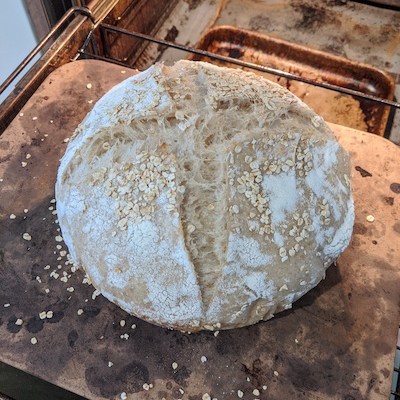
10. Bake for about 20 minutes minutes. You now have the choice to just take the lid of the pan and bake for another 10-15 minutes until golden brown. Or you can take the half baked bread out of the pan to bake further. I often choose to take the half baked bread out of the pan and out onto a pizza stone to bake until crusty and bronzed, the bottom sounds hollow when the bread is ready.
11. Rest the bread on a wired rack at room temperature for at least 1 hour before slicing, if you can withstand the beautiful smell of freshly baked bread.


Notes:
- 100% hydration: The Sourdough Starter I use has a 100% hydration, meaning that I feed my starter with equal parts of flour and water. When you have a starter that has less hydration you can add a little bit more water to the dough, but don’t worry too much as long as the dough feels like a wet dough in step 3, you should be alright. When you really get very specific in your Sourdough Baking you can boost your knowledge by reading about the “bakers percentage”.
- Spelt flour and your bread structure: Spelt flour has a different effect on the amount of water it subtracts from the dough and therefore your spelt flour bread will have a different density to the bread made from white bakers flour. The more your spelt flour ratio the more dense your bread will be. This is the same with using other grains like rye.
- No metal: I recommend to use a plastic or ceramic bowl and wooden spoon if you can. It’s a bit of an old wisdom from the olden days where metal bowls and cups could get rusty. The Sourdough is made sour by acids. Acids react to metals and therefore it could be a bad combination. Nowadays most bowls and utensils you use are made from stainless steel and you should not have a problem. I do not always follow this advice myself, as I sometime quickly mix the dough in the stand mixer which has a stainless steel bowl, but if you can avoid the metal you’re safe.
- Active Sourdough Starter: When you keep your Sourdough starter in the fridge, like I do because I do not bake bread every day. Make sure you get the starter out of the fridge a few hours before using it and give it a good feed. More about sourdough starter making and feeding you find here.
- Resting the baked bread: Although warm bread straight out of the oven is tempting, the bread needs to cool down before you can properly slice it. When the bread is not cooled down properly, it is sticky inside.
- 2-3 days proving: yes you can, as long the dough is in the fridge, the process will go slowly but will ensure a beautiful rich flavour. Make sure you fold the dough after taking it out of the fridge and let it rise until double in size.
- Say NO to all purpose flour; you could take a short cut and use all purpose flour, but you lose in taste and bread-structure.
- Salt; 21 grams of salt looks like a lot, but you definitely need it otherwise the bread taste bland. We put in the salt after the wild yeast mixture is combined with the flour, otherwise the salt might influence the Sourdough Mother and your bread will not rise properly.
- Kneading, the fun part; kneading yeast based bread allows the gluten to develop which makes bread airy and light. Without well-developed gluten, your bread would be flat and tough.
- When the bread is proving, the wild yeast is feeding on the water and flour. In theory the three things that all bacteria need to grow are heat, moisture and food. Any excess of these three things will kill the yeast (as well as salt, which seasons the bread – it’s not half so nice without it, but it does slow down the proving to some extent).
Try some Ciabatta or Focaccia next!


2 Comments Add yours