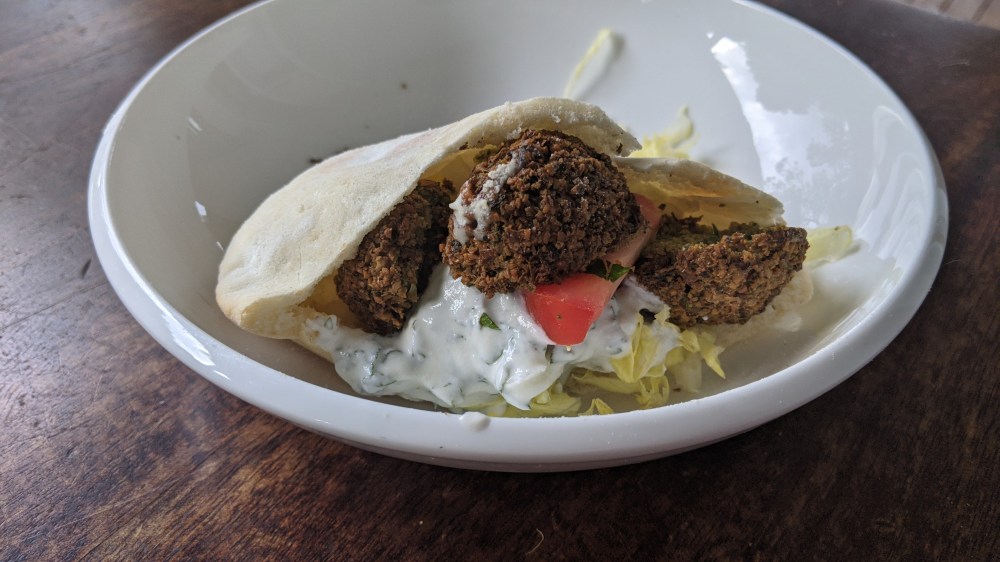
Making your own Pita Bread is so rewarding, and seeing the bread puff up in the oven is quite exiting . When you take the effort of making your own falafel you better finish with your own fresh Pita Bread. Store bought pita bread is often a few days old, and even when you re-heat them in the oven, you won’t reach the same level of satisfaction.
Pita Bread is a yeast-leavened flat bread typically used in the Middle Eastern and Mediterranean cuisine. The Pita Bread pockets are great for stuffing with your favourite falafel or kebab.
Makes: 8 Pita pockets| Preparation: 15 min| Proving: 1,5 hour| Baking: 3 minutes per batch.
Who connected us?! I got totally addicted to making my own bread. Of course I do make my favourites regularly, especially because most recipes need practise and adjustments depending on what type and brand of flour is used. Making your own bread is very rewarding, you can’t get it much fresher than straight out of your own oven. Pita bread is one of those breads that just taste better fresh.
Timing: Start your Pita bread making about 2 hours before you have dinner. Like most flat breads, you can enjoy them warm, almost straight out of the oven.
Ingredients
- 35g whole-wheat flour (¼ cup)
- 300g bakers flour (2 cups)
- 2 tsp dry yeast
- 1 cup lukewarm water
- ½ tsp sugar
- t tsp salt
- 2 tbsp olive oil
Method
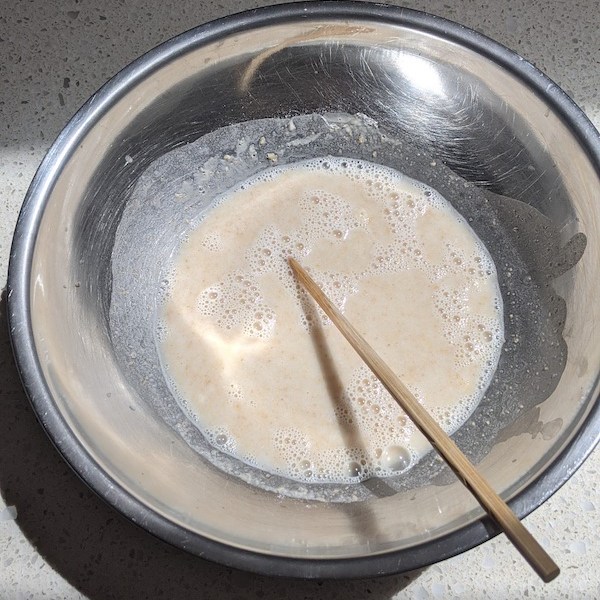
1. Firstly we are going to activate the dry yeast. In a bowl add the dry yeast and sugar to the cup of lukewarm water. Stir to dissolve. Add the whole-wheat flour, mix well and let it stand in a warm spot for about 15 minutes until the mixture is frothy and bubbling.
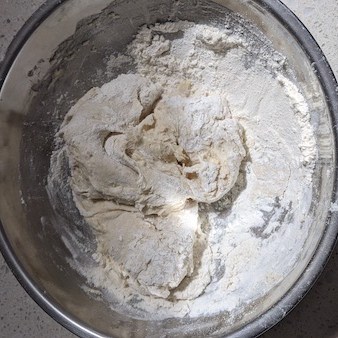
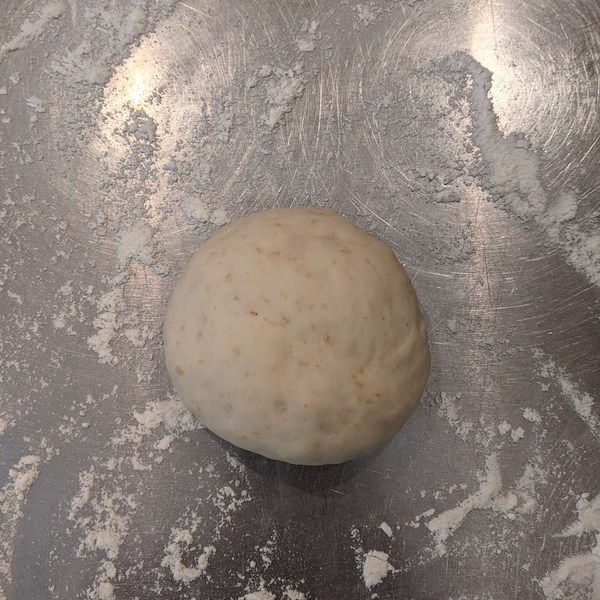
2. Add bakers flour, salt and olive oil. Combine and knead for a few minutes until you have an elastic dough. Add a little bit of extra flour if you think you need to. All flours are different and have a different water absorption capacity. The dough should be soft and just dry enough to knead. Pita Bread dough is not a very firm dough, a bit like a pizza dough.
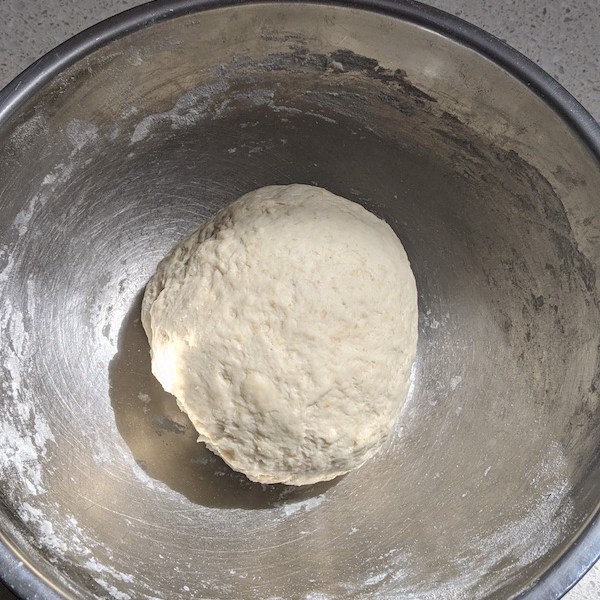
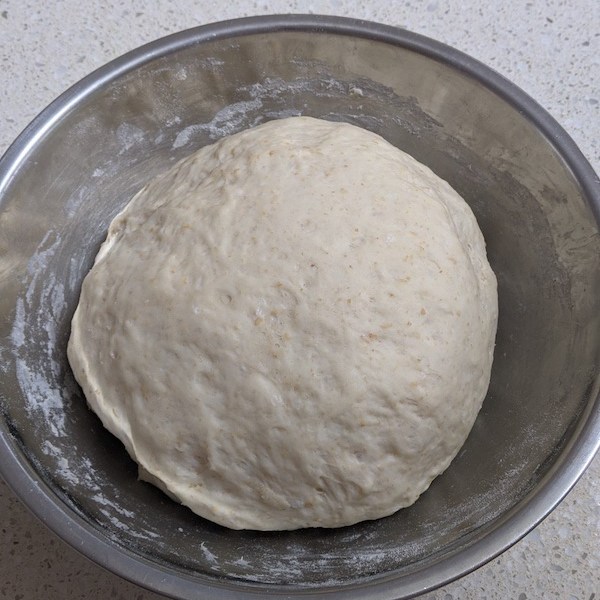
3. Cover the dough and leave in a warm place for about 10 minutes and then knead again. Then leave for about 45 minutes at room temperature until the dough has roughly doubled in size. Best to cover it with a wet towel or plastic wrap.
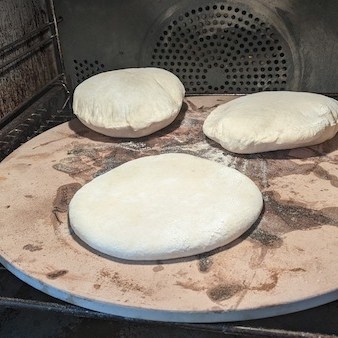
4. Preheat the oven to 250c . If you have a pizza stone, this will be your best option for baking the Pita Bread. Otherwise you can use a cast iron pan or a tray with a baking sheet.
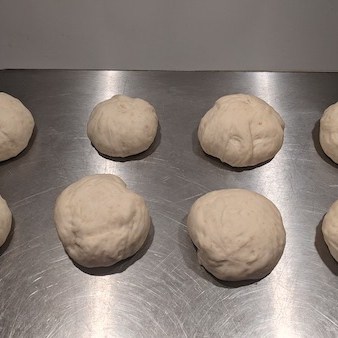
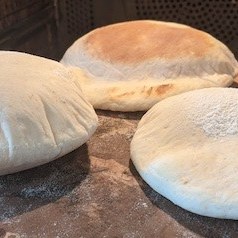
5. Dump the dough onto a lightly floured bench top. Divide the dough in 8 equal pieces. Form each piece into a little ball and place the balls on a work surface, cover with a damp towel and leave for 10 minutes.
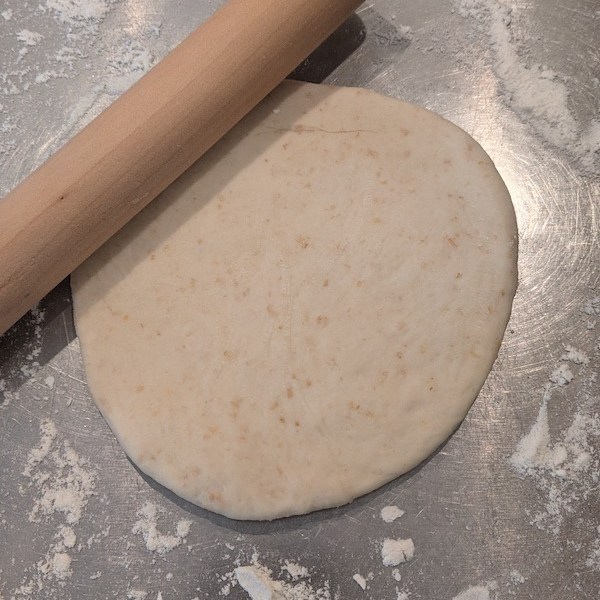
6. Now that you are ready to start baking the Pita Bread, take one dough ball while leaving the rest covered. Place the ball on a flowered work surface and press into a flat disc with a rolling pin. The disk should be about ½ cm thick and about 18-20 cm in diameter. Dust with flour if needed.
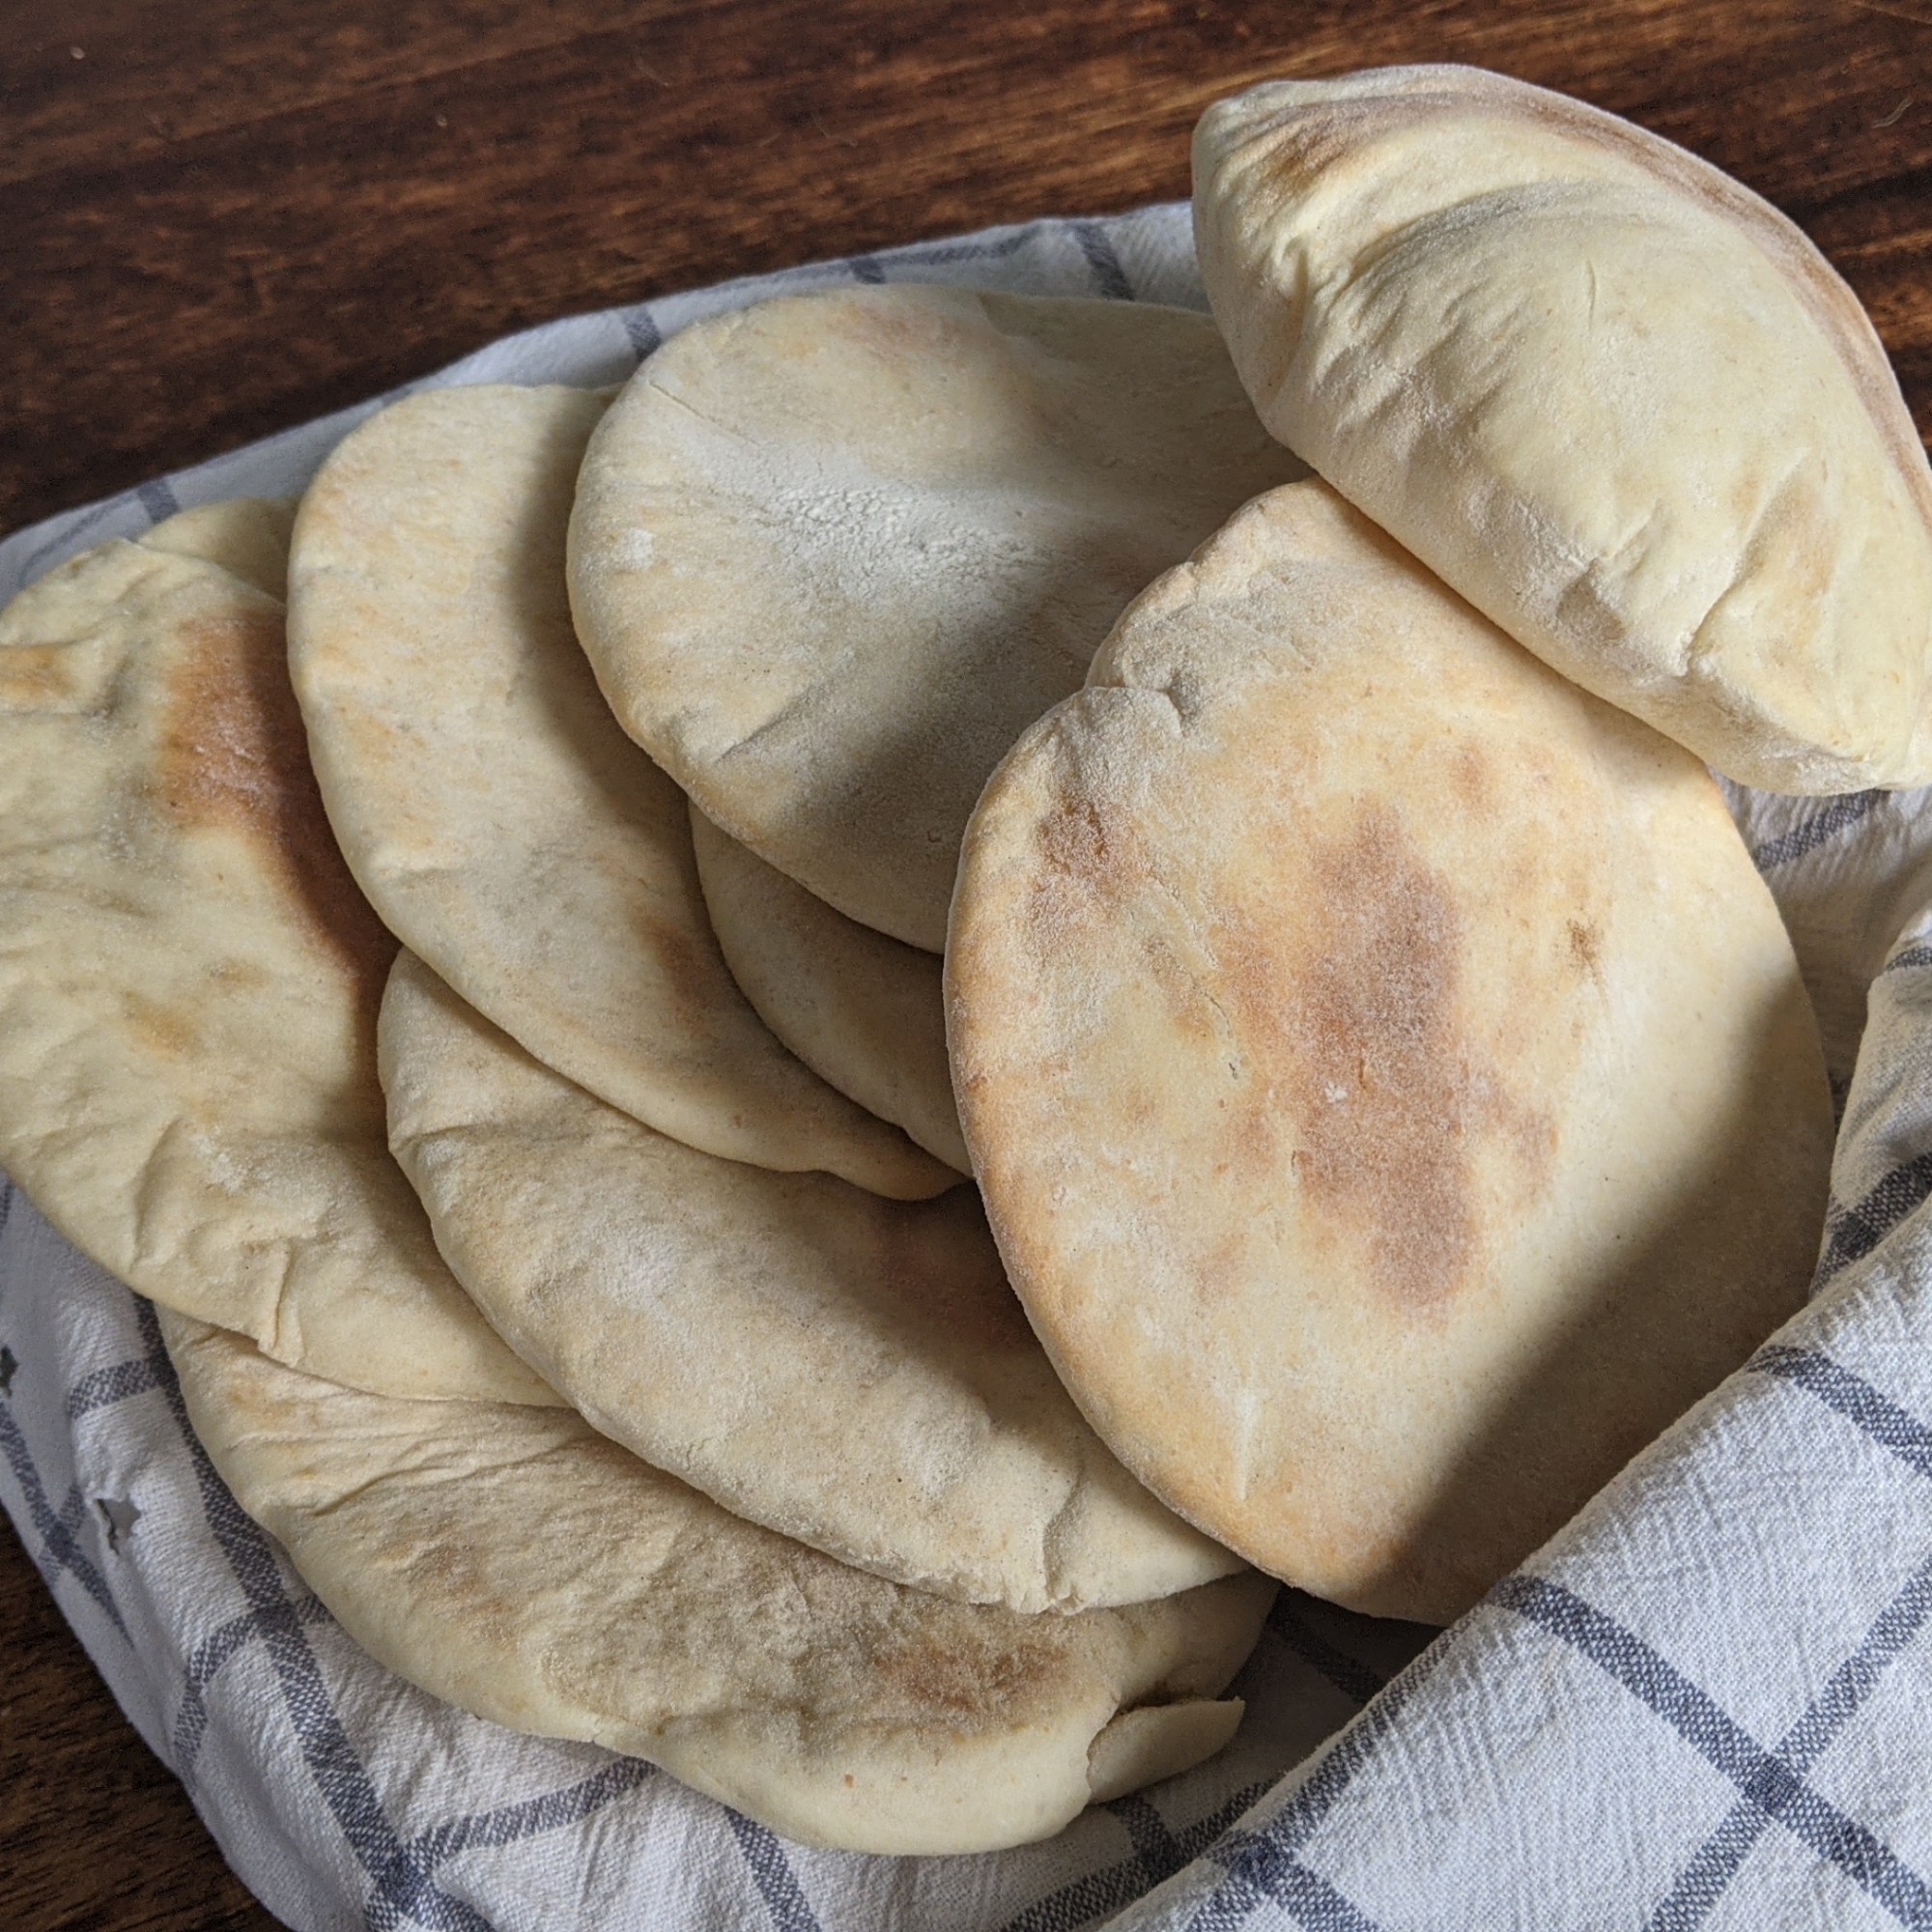
7. Carefully lift the dough and place onto the hot pizza stone or baking sheet. Bake for 2 minutes and carefully turn the dough with a spatula or tongs. The Pita bread should puff up. Bake for one more minute. The Pita Bread should be pale with a few brown speckles only.
8. You can bake the Pita Breads one by one or 2 or 3 at the time, depending on the size of your pizza stone. Place the baked pita breads into a basket lined with a napkin so the bread stays soft.
Notes:
- Bread flour: a strong bread flour is best, but if you do not have this an all purpose flour would do.
- Wholemeal flour: You could use a mixture of whole meal flour and white bread flour if you like. I would not go any further than 30% whole meal, to keep the Pita Bread light.
The Pita Bread is made to be joined by a good falafel!


Looks like fun!
LikeLike