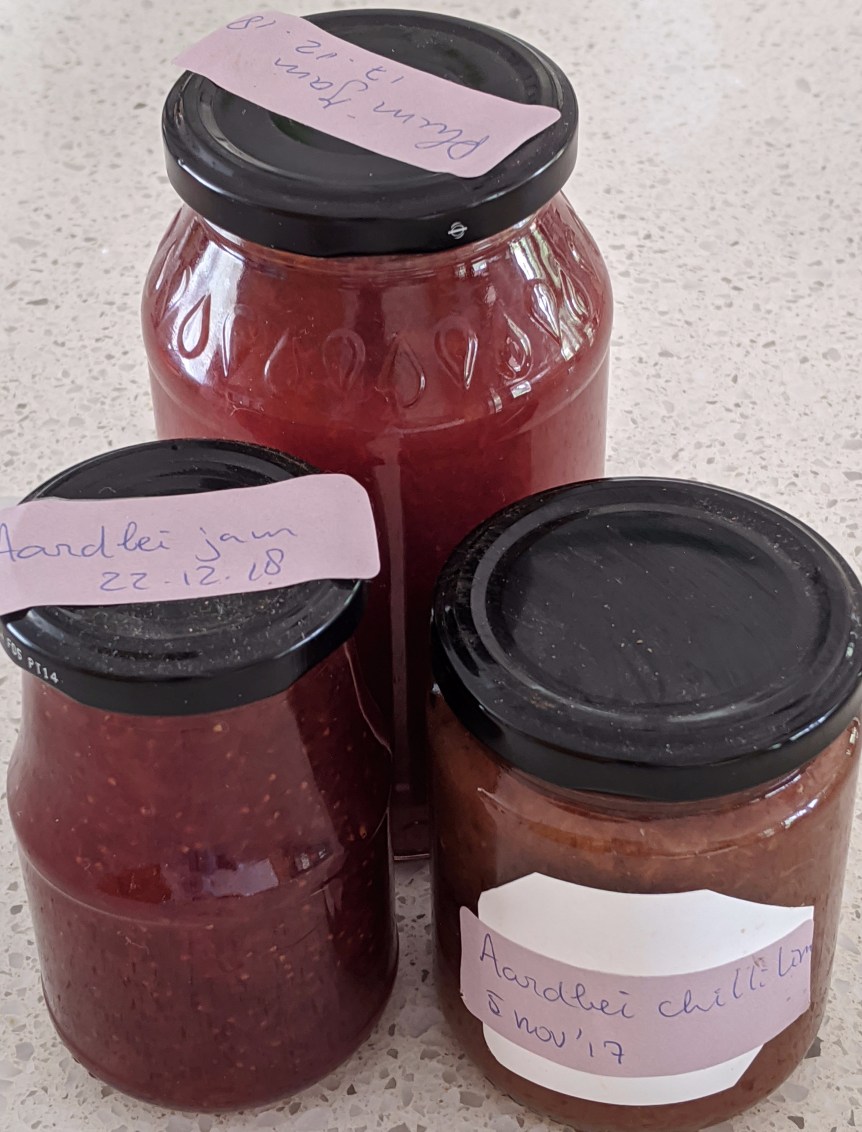
Conserve when the time is ripe!!
At strawberry. peak time, a punnet of strawberries can cost as little as $1. For us the time is ripe to make our yearly batch of Strawberry Jam. About 5 kilos of fruit makes enough to last the entire year, and then some. Usually we make a few varieties too, like Strawberry Rhubarb Jam or Strawberry Chilli Jam.
Todays recipe is pure Strawberry Jam.
Who connected us?! Arlette grew up in “De Betuwe” an area in The Netherlands were Strawberries or “Zomerkoninkjes” like manny other fruits grew in abundance. Arlette’s Mum used to make Jam every year and the whole family helped picking and cleaning the fruit.
Ingredients: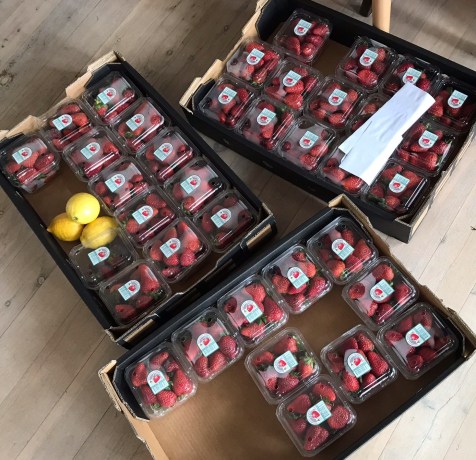
- Strawberries: 1kg
- White Sugar: 1/2 kg
- Lemon: 1
- Jars: 3-4 medium size with metal lid.
Instructions
- Clean the Strawberries. Rinse the strawberries and take off all the stems.
- To be prepared for when the jam is ready, disinfect the jars. Put the jars and lids on a tray in an oven at about 150C for about 20 minutes to sterilise.
- Put all the fruit in a large pot. Use a heavy based pot if you have one.
- Wash the lemon thoroughly, squish the juice and put the juice and the lemon halves in the pan. Don’t add any water.
- Start on low heat. The fruit will soften quickly, stir frequently to distribute the heat evenly so all the fruit softens.


- Once there is some liquid in the pan, mash the fruit. I use a potato masher.
- Now that there is a lot of liquid in the pot you can turn up the heat.
- Not long until there will be impurities (looks like foam) on top. Scoop of the impurities and discard in a seperate bowl.
- Keep stirring and scooping of the impurities.
- If there is a lot of liquid, remove some of the liquid. Safe the liquid as this is perfect for adding to some yogurt, smoothies or to make ice cream..
- Stir regularly while cooking until the consistency is like a custard. The jam will firm up when cooled down. To test if the consistency is right, take a cold plate, scoop a little jam on the plate and run your finger through the jam. When the jam separates you have reached a good consistency.


- Add the sugar and stir through. The jam will be runny again. Cook while stirring until you have reached thickened constancy again. You can test again the same way as before.
- Ladle the hot jam in the jars, fill to the top and screw on the lids.
- Clean the jar under running water while still. warm to remove all the sticky bits that were spilled. Wait until you hear the popping sound of the lids which indicate that the jars are sealed.
- Keeps up to a year. Keep in a dark, cool place.
- Keep refrigerated after opened.


Notes:
- Less sugar shorter shelf life: Once you opened the jar, keep the jam refrigerated. The jam won’t last as long as jam with a traditional sugar ration of 1:1, but the taste is so good, it won’t last long anyway :-).
- Metal lid: As you will fill the jars with hot jam, it is best not to use plastic lids. Make sure the jars are in good condition and the lids fit properly.
- Some like it sweet: Play around with the amount of sugar you use. You can taste test the jam while you make it, although keep in mind that when the jam is cooled down it taste a bit less sweet than when it is warm. The fruit is different in sweetness every time, depending on the amount of sun and rain we have. Therefore the amount of sugar we add, is slightly different each time. Play around and you get a feel for it.
- Play: Try some different variations to your own liking. We love to add Vanilla, Fresh Chilli/Lime or Rhubarb.